Renderotica
»
General
»
Help & Support
»
Genitals do not take over material from clothing geoshell
Rank: Newbie
Joined: 3/31/2020(UTC)
Posts: 3
Thanks: 1 times
|
Hello,
I hope someone can help me to understand and fix this issue.
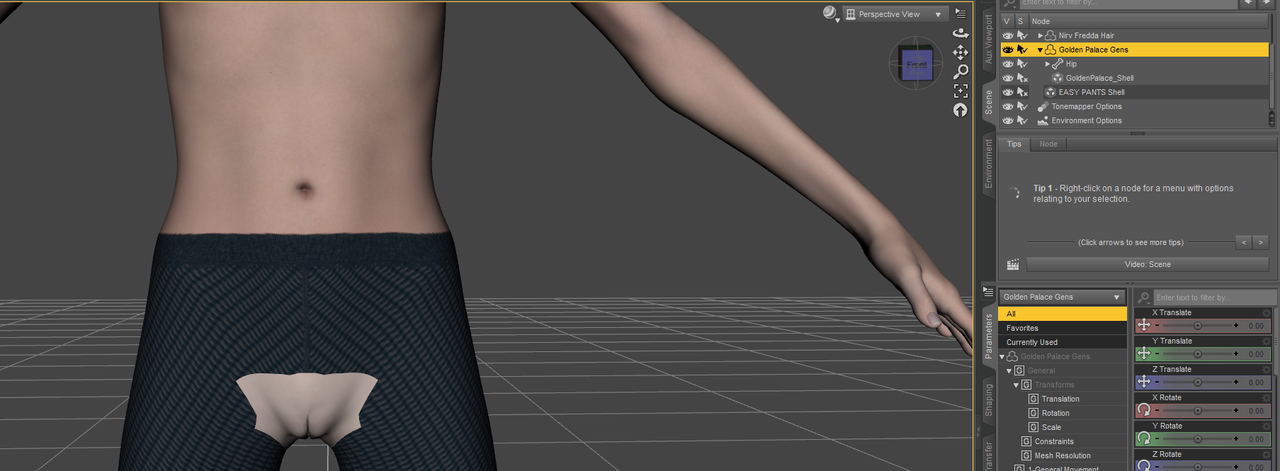
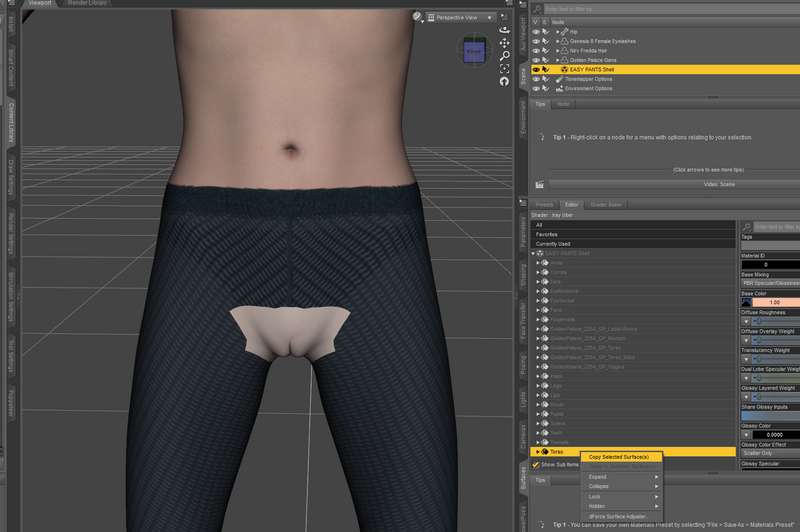
I have a character and applied Golden Palace Gens including GP geoshell on it. After doing some GP morphs I applied clothing with a geoshell and material to the character. This looks like it stamps out the GP gens from the clothing. I was trying to find a solution how to apply the clothing material to the GP gens but the only thing I found was how to lower higher the opacity of the surface which whiten the gens or completely removes the material from the clothing.
Anyone knows how to apply the clothing material to the gens?
Please find below some screen captures for a better understanding.
1. Easy Pants Shell and material applied
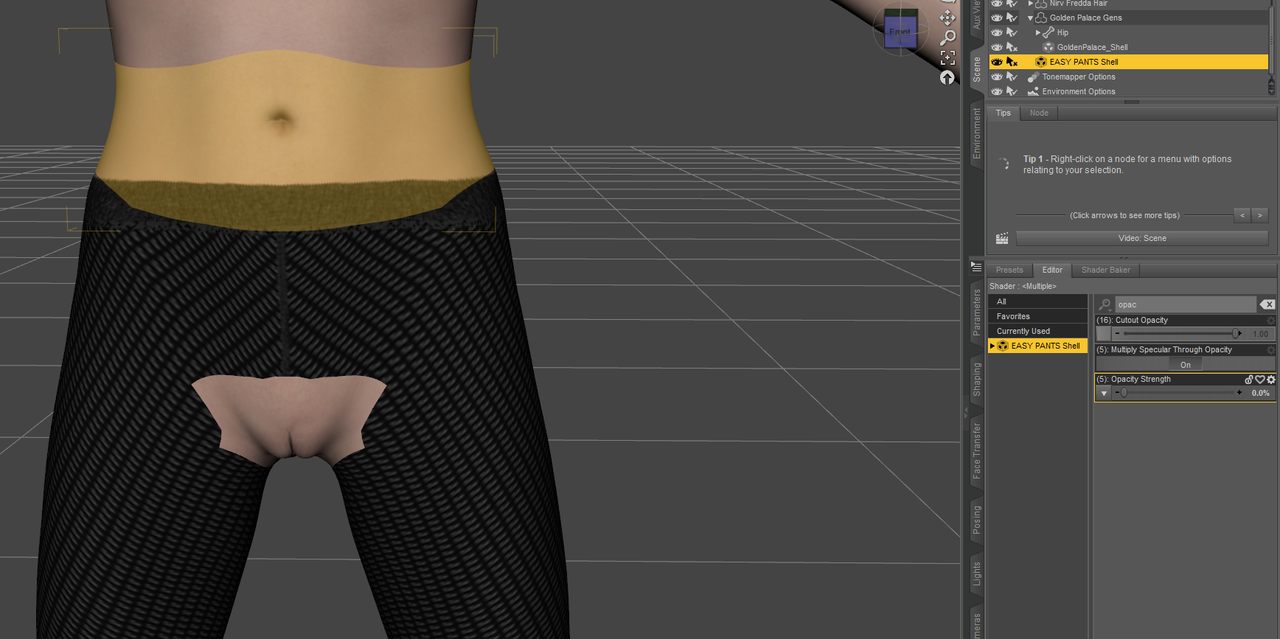
2. Easy pants opacity lowered
Your help is much appreciated!
Thank you.
|
|
|
|
|
|
Rank: Advanced Member
Joined: 12/31/2016(UTC)
Posts: 411
Thanks: 185 times
Was thanked: 237 time(s) in 158 post(s)
|
Select the geoshell, then go to the surfaces tab.
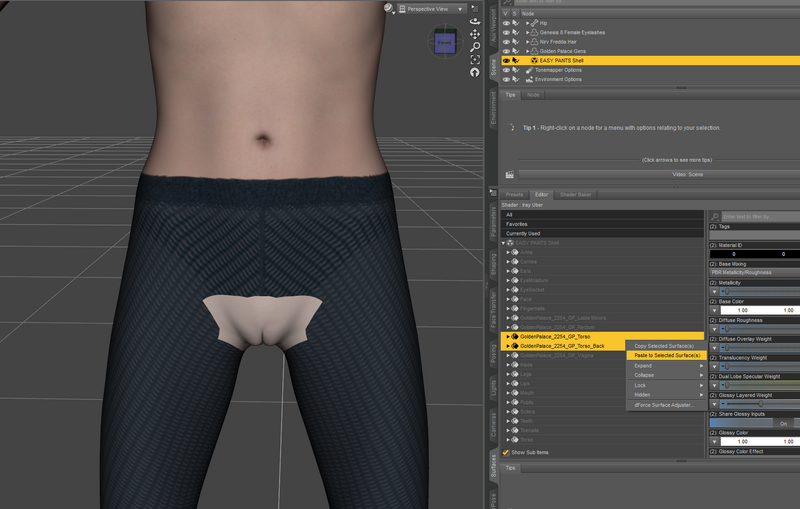
Next, under Editor, ctrl-select "GoldenPalace_####_GP_Torso" & "...Torso_Back"
Now switch from Editor to Presets and go to shaders/iray. You should see "!Iray Uber Base" as the first or one of the first icons (if you're sorted by Name A to Z). Apply uber base.
Switch back to Editor and select the Torso area. Right click "Copy Selected Surface(s)", then select those 2 Golden Palace areas and right click "Paste to Selected Surface(s)"
If you scroll down while those surfaces are selected, you'll see a dial that says "UV Set", you may need to switch this to Default UVs or whatever UV the rest of the pants shell uses.
Also possibly you may copy to "...Labia Minora" depending on the effect you're trying to get. I'd recommend setting the Labia Minora area to Opacity 0 and using the Labia Majora morph Closed to give your characters "access" to the vagina.
|
 1 user thanked Thunder-3D for this useful post.
|
|
|
|
Rank: Newbie
Joined: 3/31/2020(UTC)
Posts: 3
Thanks: 1 times
|
Originally Posted by: Thunder-3D 
Select the geoshell, then go to the surfaces tab.
Next, under Editor, ctrl-select "GoldenPalace_####_GP_Torso" & "...Torso_Back"
Now switch from Editor to Presets and go to shaders/iray. You should see "!Iray Uber Base" as the first or one of the first icons (if you're sorted by Name A to Z). Apply uber base.
Switch back to Editor and select the Torso area. Right click "Copy Selected Surface(s)", then select those 2 Golden Palace areas and right click "Paste to Selected Surface(s)"
If you scroll down while those surfaces are selected, you'll see a dial that says "UV Set", you may need to switch this to Default UVs or whatever UV the rest of the pants shell uses.
Also possibly you may copy to "...Labia Minora" depending on the effect you're trying to get. I'd recommend setting the Labia Minora area to Opacity 0 and using the Labia Majora morph Closed to give your characters "access" to the vagina.
Hi Thunder,
Thank you for your well explained instructions! I followed all steps but ended up in having the genital area still without the pants texture.
I have documented each step. Maybe I forgot something. Could you check what I am doing wrong please?
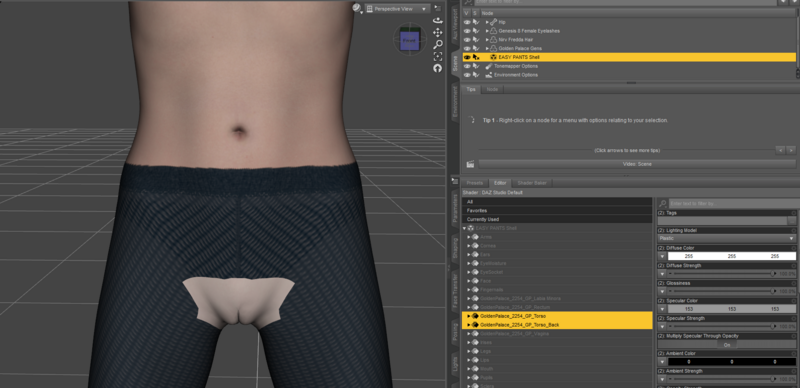
1. Selected geoshell -> Suface tab -> select GP Torso and Torso Back
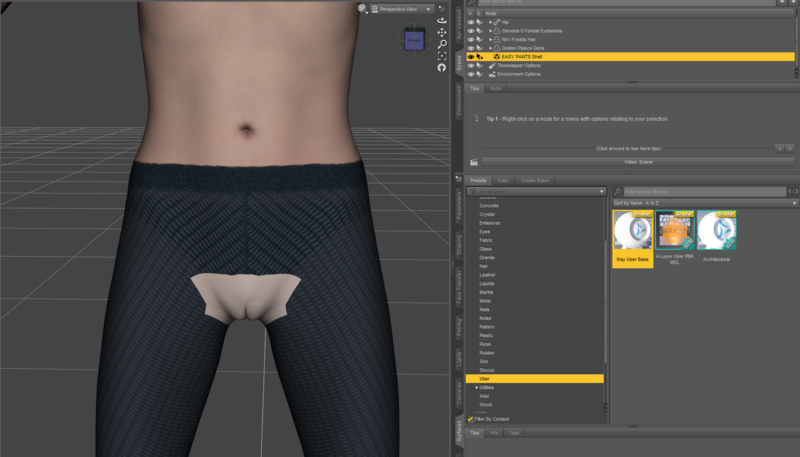
2. Now switched from Editor to Presets and go to shaders/iray. You should see "!Iray Uber Base" as the first or one of the first icons (if you're sorted by Name A to Z). Apply uber base.
3. Switch back to Editor and select the Torso area. Right click "Copy Selected Surface(s)", then select those 2 Golden Palace areas and right click "Paste to Selected Surface(s)"
I have also changed the UVs to default but I ended up in having this result:
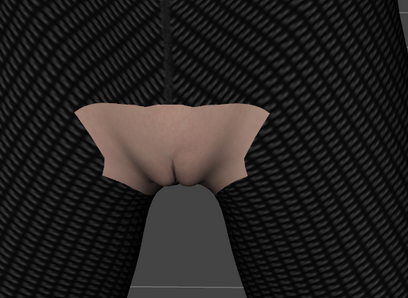
Any idea?
Thanks!
|
|
|
|
|
|
Rank: Advanced Member
Joined: 12/31/2016(UTC)
Posts: 411
Thanks: 185 times
Was thanked: 237 time(s) in 158 post(s)
|
Weird, that should have worked. I don't have the product so I can't see exactly how it's built.
Who's the vendor or artist for those pants?
|
|
|
|
|
|
Rank: Newbie
Joined: 3/31/2020(UTC)
Posts: 3
Thanks: 1 times
|
Originally Posted by: Who&
This is the product: https://www.*deleted*.com/rr/mod/bcs/easy-pants-for-genesis-8/145744
Thanks for helping out!
|
|
|
|
|
|
Rank: Administration
Joined: 1/14/2020(UTC)
Posts: 65
Thanks: 5 times
Was thanked: 71 time(s) in 19 post(s)
|
I would suggest that you take this discussion offline to a PM, (private message). Then you can share the link, since links to other paysite are not allowed in the forums. CGBytes Management /
Renderotica Management
|
1 user thanked CGBytesMgmt for this useful post.
|
|
|
|
Rank: Advanced Member
Joined: 3/14/2013(UTC)
Posts: 304
Thanks: 456 times
Was thanked: 110 time(s) in 95 post(s)
|
Often Daz shows an area in preview different from the final render. Try viewing in Iray preview and see if you still have the problem.
Another thing to try, if it's still a problem and you want to render, simply turn off the visibility of the gens.
|
|
|
|
|
|
Rank: Member
Joined: 2/14/2021(UTC)
Posts: 18
Thanks: 5 times
Was thanked: 6 time(s) in 5 post(s)
|
Thank you both Thunder-3D and peppi for providing the step by step and pictures. It worked for me with a different product.
Hope you sorted it out though.
Cheers.
|
|
|
|
|
|
Rank: Member
Joined: 2/14/2021(UTC)
Posts: 18
Thanks: 5 times
Was thanked: 6 time(s) in 5 post(s)
|
Hi all,
In case someone else is trying to figure this out, I think I know why it works in some cases and why it doesn't in others. This method will work only if the geoshell file matches the UV maps for the character in question, in this case the G8F UV map. If it was done with a custom map like Hameleon Easy products (example used by peppi) then it won't work. I bought some products from Hameleon and it didn't work. When I chekced the images used in the torso area it is different from the G8F uv map.
Please note, I'm a noobie and don't understand much of the nomenclature used in DAZ... When I say UV map I mean the weird silhouette that is used for skin textures.
Hope this helps.
Cheers.
|
|
|
|
|
|
Renderotica
»
General
»
Help & Support
»
Genitals do not take over material from clothing geoshell
Forum Jump
You cannot post new topics in this forum.
You cannot reply to topics in this forum.
You cannot delete your posts in this forum.
You cannot edit your posts in this forum.
You cannot create polls in this forum.
You cannot vote in polls in this forum.