|
|
Rank: Newbie
Joined: 2/10/2018(UTC)
Posts: 9
Was thanked: 3 time(s) in 3 post(s)
|
This might be the wrong place for this, and if it is I'm sorry, but I was wondering if there will be other creatures for the HDPG9? We've dozens of furry characters, thanks in no small part to Oso3d, and yet the only creature phalluses we have are k9's and horses - this is a nitpick (not your products but in general) with those but I *hate* that the sheath is just decoration. The phallus doesn't retract into it when flaccid like it should and the rim isn't malleable/stretchy. A cat's tubular, pointed phallus with spines along it would be cool/nice to see. Same as a lizards slit or a birds cloaca.
|
|
|
|
|
|
Rank: Advanced Member
Joined: 10/22/2013(UTC)
Posts: 1,132
Thanks: 352 times
Was thanked: 277 time(s) in 162 post(s)
|
Originally Posted by: sinfulpetgirl 
This might be the wrong place for this, and if it is I'm sorry, but I was wondering if there will be other creatures for the HDPG9? We've dozens of furry characters, thanks in no small part to Oso3d, and yet the only creature phalluses we have are k9's and horses - this is a nitpick (not your products but in general) with those but I *hate* that the sheath is just decoration. The phallus doesn't retract into it when flaccid like it should and the rim isn't malleable/stretchy. A cat's tubular, pointed phallus with spines along it would be cool/nice to see. Same as a lizards slit or a birds cloaca.
Thank you for your suggestion. I hadn't considered this need before. I searched for cat images, and achieving the barbs on its surface using HDPG9 deformation seems a bit challenging. But I'll give it a try.
|
|
|
|
|
|
Rank: Newbie
Joined: 2/10/2018(UTC)
Posts: 9
Was thanked: 3 time(s) in 3 post(s)
|
Thank you. I only really asked because I can't figure out how to export the mesh to make my own morphs XD and giving someone money is honestly easier than that headache.
|
|
|
|
|
|
Rank: Advanced Member
Joined: 10/22/2013(UTC)
Posts: 1,132
Thanks: 352 times
Was thanked: 277 time(s) in 162 post(s)
|
Hi, Just an update on the progress. The base model has been roughly completed. I have struggled for a long time with how to implement these tiny barbs. Because the number of meshes is still insufficient, each barb can be allocated very few faces, so it must be combined with other methods to simulate the barbs in reality. 3feetwolf attached the following image(s):
|
|
|
|
|
|
Rank: Member
Joined: 9/16/2025(UTC)
Posts: 10
Thanks: 3 times
Was thanked: 7 time(s) in 6 post(s)
|
Originally Posted by: 3feetwolf Hi,
Just an update on the progress. The base model has been roughly completed.
I have struggled for a long time with how to implement these tiny barbs. Because the number of meshes is still insufficient, each barb can be allocated very few faces, so it must be combined with other methods to simulate the barbs in reality.
Have you considered a strand based hair approach for the barbs? I bet if you used super short lines with large start diameters and small end diameters you could essentially make it an attachment that can go on any of the penises. a free tip for faster renders, multiply ALL the scene lights efficacy and luminosity by 10,000, and increase exposure value to compensate, and your renders will go faster and use less RAM.
also copy any textures in temp to another folder and relink them from there before rendering instead of leaving them in temp, and you will dodge a significant number of crashes.
|
|
|
|
|
|
Rank: Advanced Member
Joined: 10/22/2013(UTC)
Posts: 1,132
Thanks: 352 times
Was thanked: 277 time(s) in 162 post(s)
|
Originally Posted by: aqua-regia
Have you considered a strand based hair approach for the barbs? I bet if you used super short lines with large start diameters and small end diameters you could essentially make it an attachment that can go on any of the penises.
Hi,
Thank you very much for the suggestion. I’ve also considered using strand-based hair. However, barbs created this way may show noticeable color differences and visible edges against the skin in the final render, making it difficult for them to blend seamlessly with the surrounding skin like real barbs do. Do you have any thoughts on how we could address this?
|
|
|
|
|
|
Rank: Member
Joined: 9/16/2025(UTC)
Posts: 10
Thanks: 3 times
Was thanked: 7 time(s) in 6 post(s)
|
Originally Posted by: 3feetwolf
Originally Posted by: aqua-regia
Have you considered a strand based hair approach for the barbs? I bet if you used super short lines with large start diameters and small end diameters you could essentially make it an attachment that can go on any of the penises.
Hi,
Thank you very much for the suggestion. I’ve also considered using strand-based hair. However, barbs created this way may show noticeable color differences and visible edges against the skin in the final render, making it difficult for them to blend seamlessly with the surrounding skin like real barbs do. Do you have any thoughts on how we could address this?
maybe using a gradient cutout opacity? I'm looking at that now, a lot of the parameters of strand-based-hair are really weird. I was going to say cutout opacity, but it doesn't seem to be behaving correctly. I tried out the idea, got this so far, which is fascinating, but kinda weird. Im going to mess with the idea a little more before going to bed tonight.

a free tip for faster renders, multiply ALL the scene lights efficacy and luminosity by 10,000, and increase exposure value to compensate, and your renders will go faster and use less RAM.
also copy any textures in temp to another folder and relink them from there before rendering instead of leaving them in temp, and you will dodge a significant number of crashes.
|
|
|
|
|
|
Rank: Member
Joined: 9/16/2025(UTC)
Posts: 10
Thanks: 3 times
Was thanked: 7 time(s) in 6 post(s)
|
Originally Posted by: aqua-regia
Originally Posted by: 3feetwolf
Originally Posted by: aqua-regia
Have you considered a strand based hair approach for the barbs? I bet if you used super short lines with large start diameters and small end diameters you could essentially make it an attachment that can go on any of the penises.
Hi,
Thank you very much for the suggestion. I’ve also considered using strand-based hair. However, barbs created this way may show noticeable color differences and visible edges against the skin in the final render, making it difficult for them to blend seamlessly with the surrounding skin like real barbs do. Do you have any thoughts on how we could address this?
maybe using a gradient cutout opacity? I'm looking at that now, a lot of the parameters of strand-based-hair are really weird. I was going to say cutout opacity, but it doesn't seem to be behaving correctly. I tried out the idea, got this so far, which is fascinating, but kinda weird. Im going to mess with the idea a little more before going to bed tonight.
the biggest issue is any hair that doesn't start out orthagonal to the surface still visibly clips in.
though now that I think about it, maybe you could use the cutout opacity technique with some other kind of object, maybe essentially a clothing prop made to fit the graft that matches the skin texture and conforms to it but has it's own geometry that extends outwards? Im getting a wave of impostor syndrome making these suggestions because I'm relatively new to daz, even if Ive been doing transparency tricks in raytracing since POV-RAY, lol Edited by user Friday, January 2, 2026 12:59:43 AM(UTC)
| Reason: Not specified a free tip for faster renders, multiply ALL the scene lights efficacy and luminosity by 10,000, and increase exposure value to compensate, and your renders will go faster and use less RAM.
also copy any textures in temp to another folder and relink them from there before rendering instead of leaving them in temp, and you will dodge a significant number of crashes.
|
 1 user thanked aqua-regia for this useful post.
|
|
|
|
Rank: Newbie
Joined: 2/10/2018(UTC)
Posts: 9
Was thanked: 3 time(s) in 3 post(s)
|
Originally Posted by: 3feetwolf Hi,
Just an update on the progress. The base model has been roughly completed.
I have struggled for a long time with how to implement these tiny barbs. Because the number of meshes is still insufficient, each barb can be allocated very few faces, so it must be combined with other methods to simulate the barbs in reality.
I forgot to check this (been sick, also hope you had a geat holiday season!) But holy crap that looks awesome!! Far better than what I had in mind lmfao. The barbs look both fun and painful 😄
|
1 user thanked sinfulpetgirl for this useful post.
|
|
|
|
Rank: Advanced Member
Joined: 10/22/2013(UTC)
Posts: 1,132
Thanks: 352 times
Was thanked: 277 time(s) in 162 post(s)
|
Originally Posted by: aqua-regia
the biggest issue is any hair that doesn't start out orthagonal to the surface still visibly clips in.
though now that I think about it, maybe you could use the cutout opacity technique with some other kind of object, maybe essentially a clothing prop made to fit the graft that matches the skin texture and conforms to it but has it's own geometry that extends outwards? Im getting a wave of impostor syndrome making these suggestions because I'm relatively new to daz, even if Ive been doing transparency tricks in raytracing since POV-RAY, lol
Thank you very much for the testing. I think we can export the SBH as an OBJ file, or directly use FiberMesh in ZBrush to create the hair, and then modify the model to avoid clipping issues. Finally, we can use this model to create the HDPG9 accessory. I will explore ways to make the accessory blend better with HDPG9 when painting the textures.
|
|
|
|
|
|
Rank: Advanced Member
Joined: 10/22/2013(UTC)
Posts: 1,132
Thanks: 352 times
Was thanked: 277 time(s) in 162 post(s)
|
Originally Posted by: sinfulpetgirl
I forgot to check this (been sick, also hope you had a geat holiday season!) But holy crap that looks awesome!! Far better than what I had in mind lmfao. The barbs look both fun and painful 😄
I’m glad to hear you like the base model. Since there are still many details to polish, the progress of this project may not be very fast.
Thank you for your patience, and wishing you a speedy recovery.
|
|
|
|
|
|
Rank: Advanced Member
Joined: 8/22/2015(UTC)
Posts: 64
Thanks: 2 times
Was thanked: 33 time(s) in 23 post(s)
|
i think there's a need for "sheath" morph for the feline and lycan morphs due to how there's no way to use any of the size morphs without them looking weird.
|
|
|
|
|
|
Rank: Advanced Member
Joined: 10/22/2013(UTC)
Posts: 1,132
Thanks: 352 times
Was thanked: 277 time(s) in 162 post(s)
|
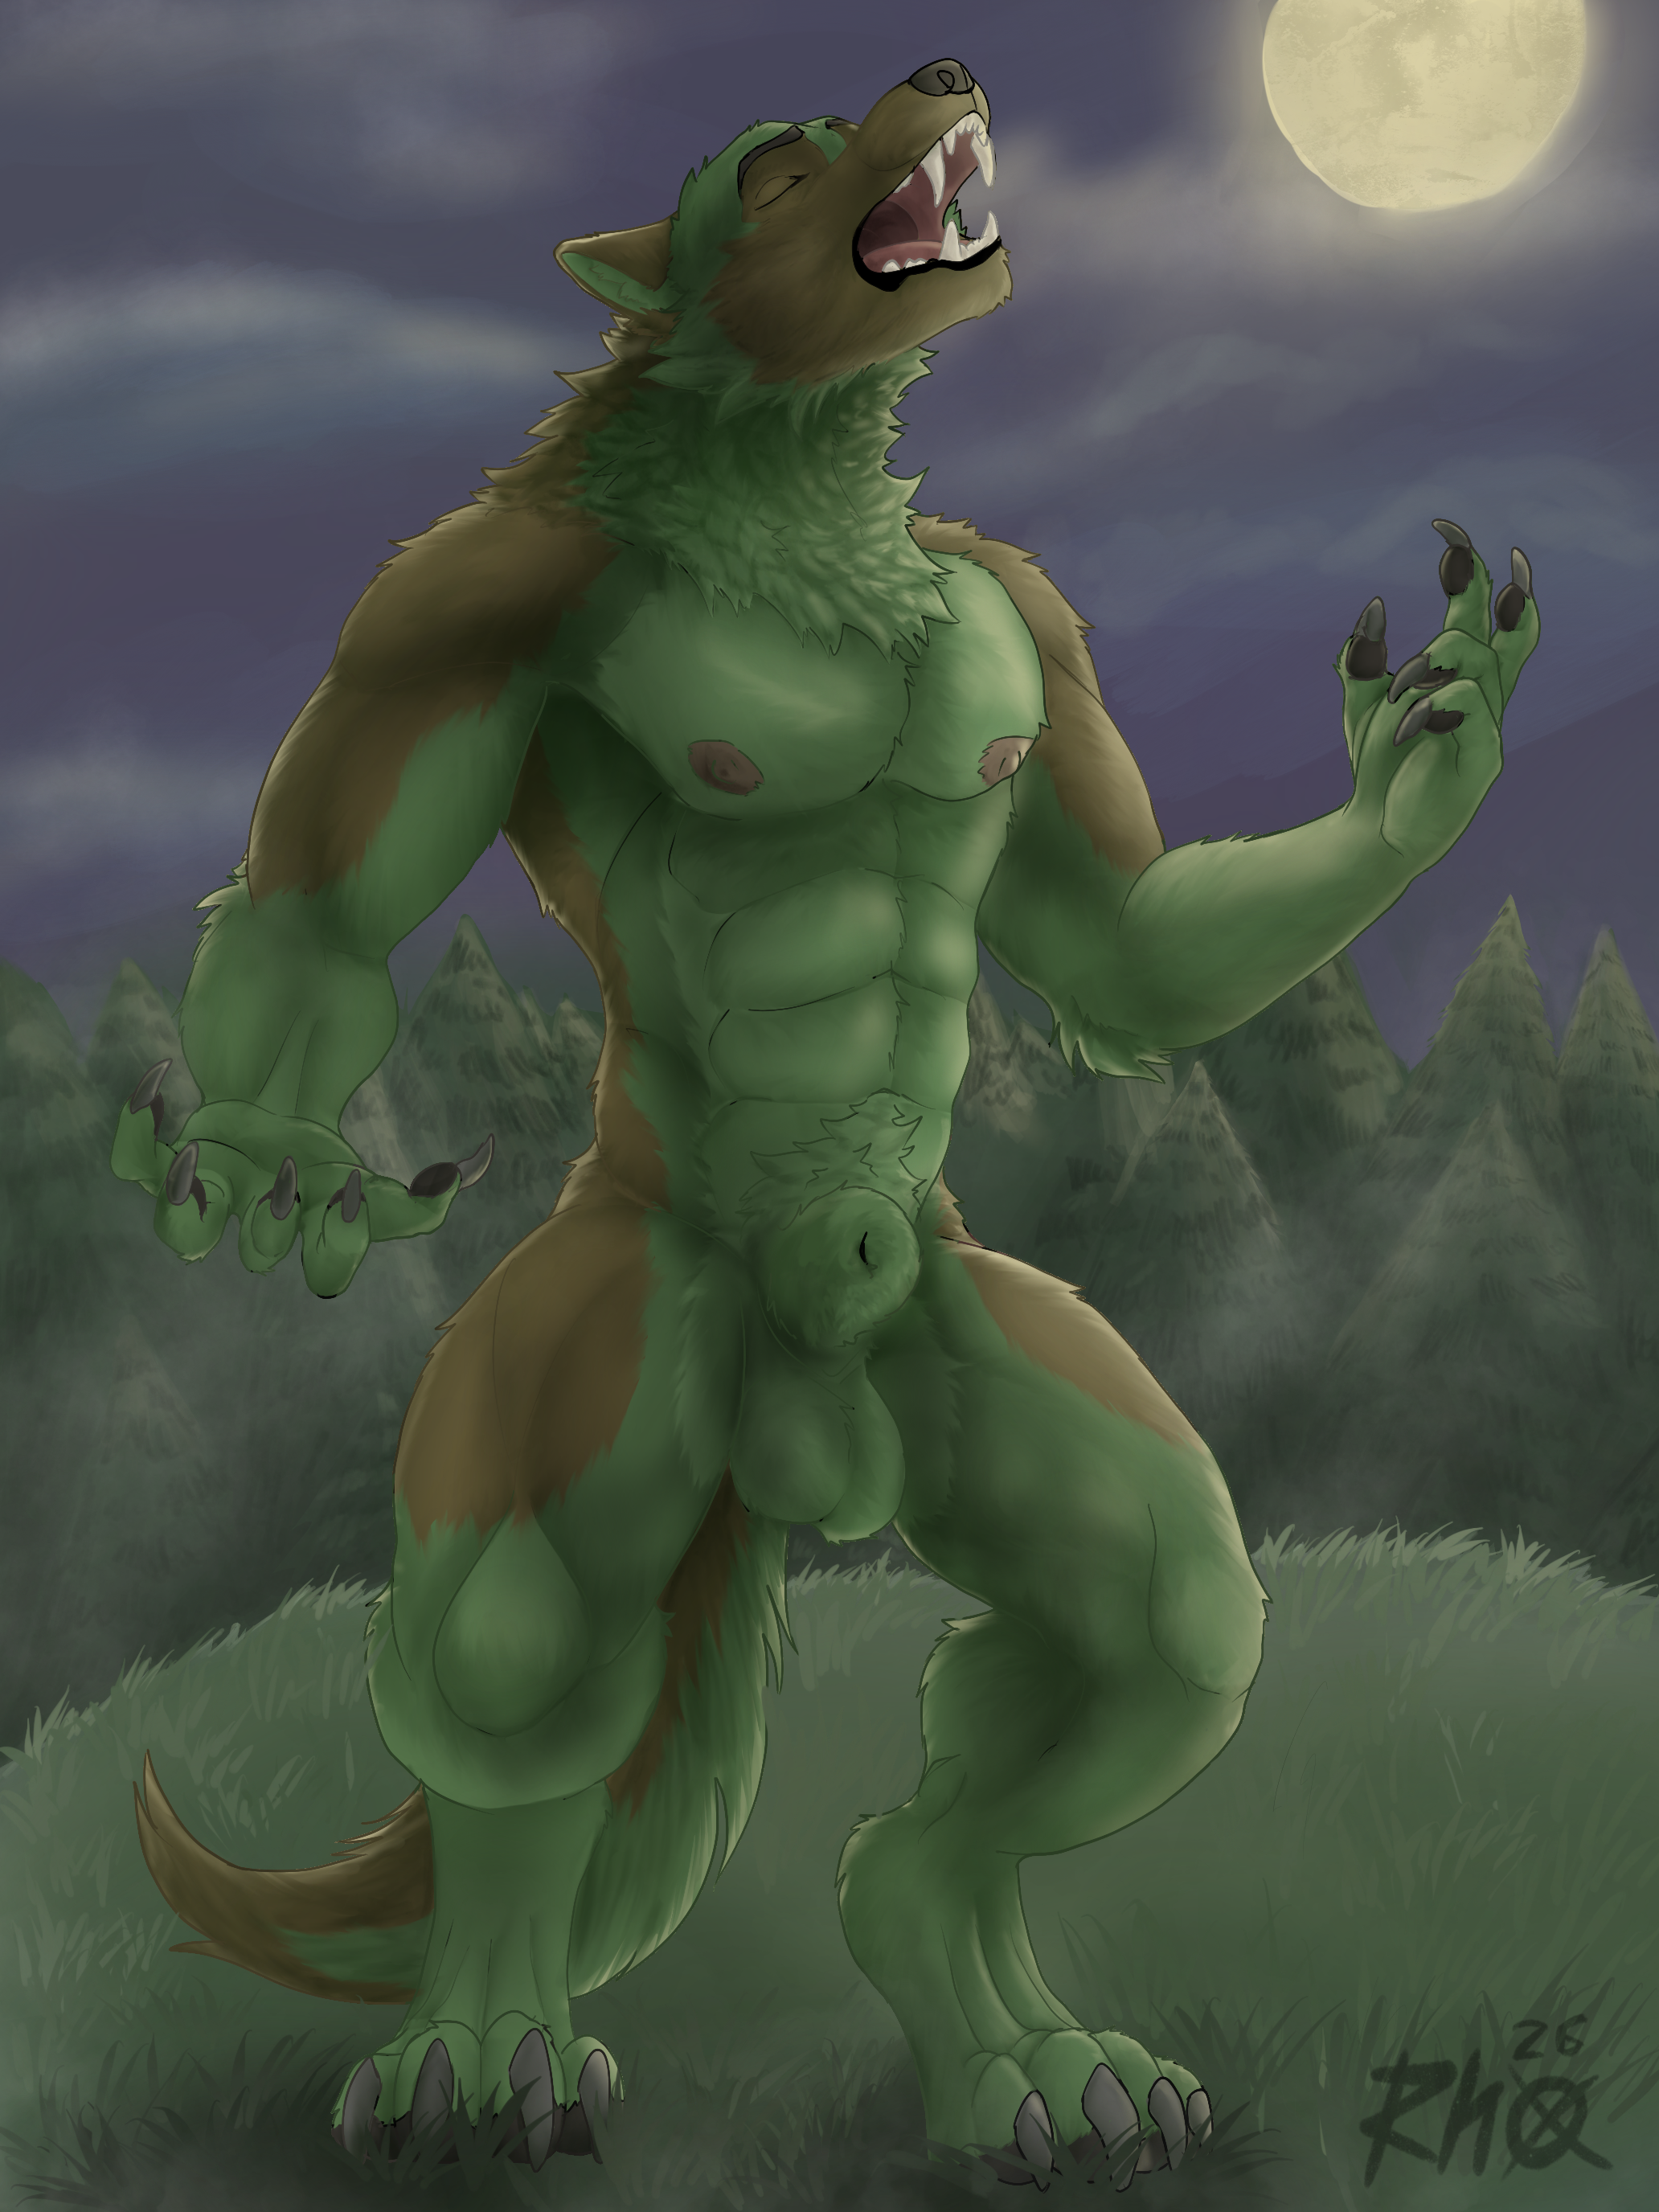
Originally Posted by: Blood-PawWerewolf i think there's a need for "sheath" morph for the feline and lycan morphs due to how there's no way to use any of the size morphs without them looking weird.
Hi, does the sheath morph you mentioned refer to the shape as shown in the attached figure? 3feetwolf attached the following image(s):
|
|
|
|
|
|
Rank: Advanced Member
Joined: 8/22/2015(UTC)
Posts: 64
Thanks: 2 times
Was thanked: 33 time(s) in 23 post(s)
|
Originally Posted by: 3feetwolf
Originally Posted by: Blood-PawWerewolf i think there's a need for "sheath" morph for the feline and lycan morphs due to how there's no way to use any of the size morphs without them looking weird.
Hi, does the sheath morph you mentioned refer to the shape as shown in the attached figure?
yes. a better example would be this:
  Edited by user Friday, April 3, 2026 9:02:13 AM(UTC)
| Reason: Not specified
|
1 user thanked Blood-PawWerewolf for this useful post.
|
|
|
|
Rank: Member
Joined: 9/16/2025(UTC)
Posts: 10
Thanks: 3 times
Was thanked: 7 time(s) in 6 post(s)
|
I managed to get a "sheathed" look by moving one of the joints (i think it was joint 5 or 6) along its y axis, but a slider to do that would be very helpful. a free tip for faster renders, multiply ALL the scene lights efficacy and luminosity by 10,000, and increase exposure value to compensate, and your renders will go faster and use less RAM.
also copy any textures in temp to another folder and relink them from there before rendering instead of leaving them in temp, and you will dodge a significant number of crashes.
|
1 user thanked aqua-regia for this useful post.
|
|
|
|
Rank: Advanced Member
Joined: 10/22/2013(UTC)
Posts: 1,132
Thanks: 352 times
Was thanked: 277 time(s) in 162 post(s)
|
Originally Posted by: Blood-PawWerewolf
yes. a better example would be this:
Thank you for the image. Considering that directly creating sheath morph for these creatures would result in excessively stretched textures, I created this morph for hdpg9 instead, so the sheath will have the same textures as the hdpg9 shaft.
Please copy the Sheath.dsf from Sheath.zip to '\data\3feetwolf\HD Penis for Genesis 9\HD Penis for Genesis 9\Morphs\3feetwolf\Base'. In daz studio, select hdpg9, then go to the parameters panel. Under 'Actor/00 - Presets/Penis', you will see a new morph, '0066 - Sheath'.
|
1 user thanked 3feetwolf for this useful post.
|
|
|
|
Rank: Advanced Member
Joined: 10/22/2013(UTC)
Posts: 1,132
Thanks: 352 times
Was thanked: 277 time(s) in 162 post(s)
|
Originally Posted by: aqua-regia I managed to get a "sheathed" look by moving one of the joints (i think it was joint 5 or 6) along its y axis, but a slider to do that would be very helpful.
Thanks, I created a sheath morph by adjusting the joints. You can try it out and see if it works for you.
|
|
|
|
|
|
Rank: Advanced Member
Joined: 8/22/2015(UTC)
Posts: 64
Thanks: 2 times
Was thanked: 33 time(s) in 23 post(s)
|
Originally Posted by: 3feetwolf
Originally Posted by: Blood-PawWerewolf
yes. a better example would be this:
Thank you for the image. Considering that directly creating sheath morph for these creatures would result in excessively stretched textures, I created this morph for hdpg9 instead, so the sheath will have the same textures as the hdpg9 shaft.
Please copy the Sheath.dsf from Sheath.zip to '\data\3feetwolf\HD Penis for Genesis 9\HD Penis for Genesis 9\Morphs\3feetwolf\Base'. In daz studio, select hdpg9, then go to the parameters panel. Under 'Actor/00 - Presets/Penis', you will see a new morph, '0066 - Sheath'.
hey thanks!
|
|
|
|
|
|
Rank: Advanced Member
Joined: 8/22/2015(UTC)
Posts: 64
Thanks: 2 times
Was thanked: 33 time(s) in 23 post(s)
|
Originally Posted by: aqua-regia I managed to get a "sheathed" look by moving one of the joints (i think it was joint 5 or 6) along its y axis, but a slider to do that would be very helpful.
can you tell me the values that you modified?
|
|
|
|
|
|
Rank: Newbie
Joined: 2/10/2018(UTC)
Posts: 9
Was thanked: 3 time(s) in 3 post(s)
|
Coming back to this because I saw the catfolk dick in the store. Holy shit, 3feetwolf, that... is literally perfect. Tsym for giving my felines their manhood!
|
|
|
|
|
|
Forum Jump
You cannot post new topics in this forum.
You cannot reply to topics in this forum.
You cannot delete your posts in this forum.
You cannot edit your posts in this forum.
You cannot create polls in this forum.
You cannot vote in polls in this forum.
|